How To Solder a PCB: Complete Guide
If you are in the electronics industry and want to learn the PCB soldering process, here's how to solder a PCB.
If you are in the electronics industry and want to learn the PCB soldering process, here’s how to solder a PCB.
PCB soldering involves applying solder to a PCB to create mechanical and electrical connections with electronic components.
You can do the process automatically using a machine, but understanding manual soldering is vital for electronic engineers.
So first, let’s analyze the different soldering techniques.
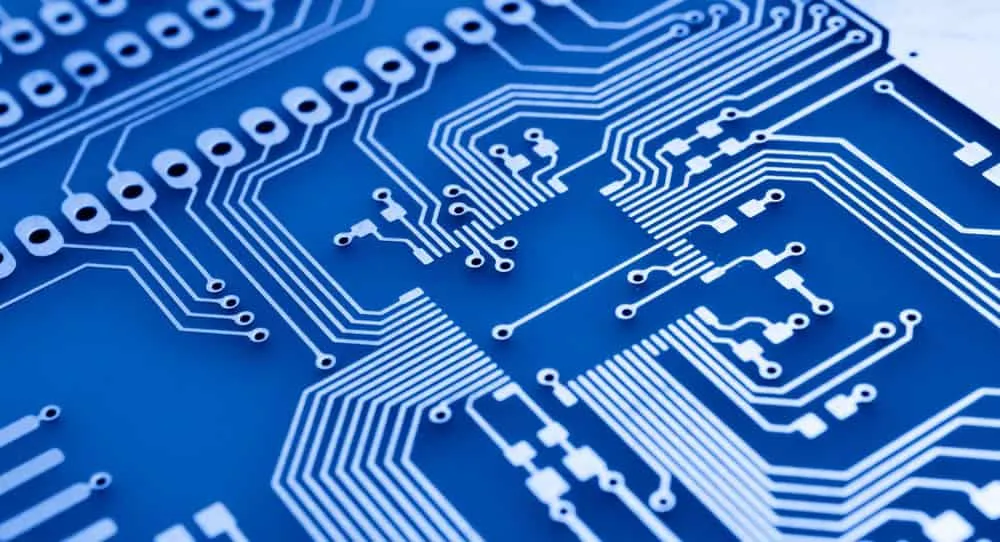
PCB Soldering Techniques

The five primary soldering techniques include:
Reflow Soldering
This soldering technique involves heating solder paste already applied to the board to melt and attach the components.
PCB assemblers usually use reflow soldering when mounting surface-mount devices to the board.
The process begins by applying solder paste via a stencil with slots to match the SMT solder pads.
So the paste only settles on these pads.
After that, a pick-and-place machine places the electrical components on the copper pads.
The board then goes into a reflow oven, where the paste gets heated to melt and wet the pad and component.

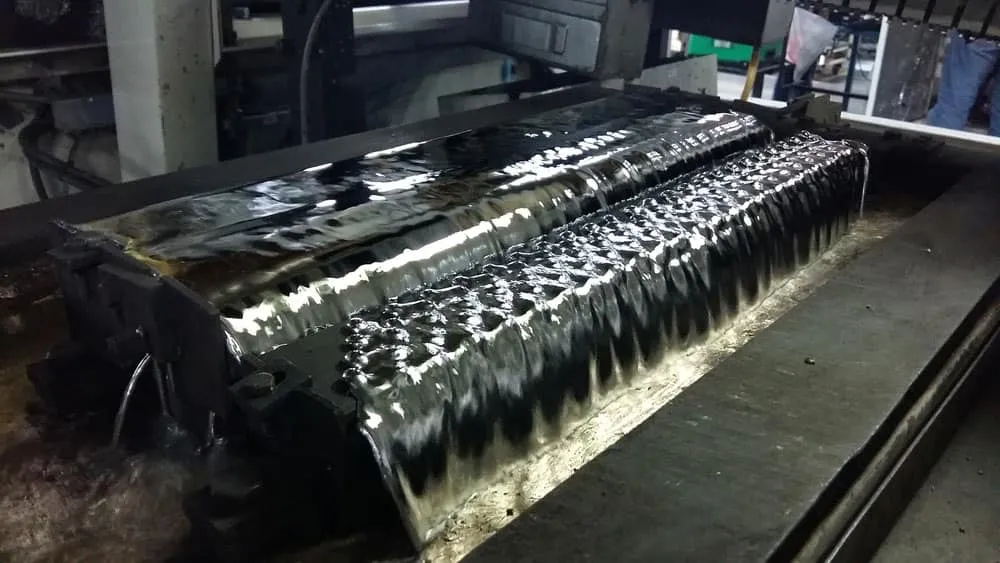
Wave Soldering
This technique is ideal for attaching through-hole components to the board because solder paste won’t work on them.
The paste would melt through the holes in the reflow oven, leaving the contact surfaces dry.
Braze Soldering
Braze soldering involves attaching metal components via heating, and you use a filler metal to create a sturdy, permanent joint.
The most typical filler metal used for brazing is brass.
Braze soldering requires high temperatures of about 450°C (840°F), the ideal phase temperature to produce the sturdiest joints.
The technique is also known as hard soldering because it forms the sturdiest metal bonds.
But it has another subtype known as silver soldering.
Silver Soldering
This process uses a silver alloy (cadmium silver) as the filler to solder tiny components.
Most technicians use silver soldering to do repairs or maintenance on circuit boards.
However, the process requires a different flux to create sturdy silver joints because the metal is free running. It is not the best for space filling.
Soft Soldering
Soft soldering is similar to braze soldering except that it occurs at lower temperatures (less than 840°F).
These components can get damaged at high temperatures, so you must solder them at lower temperatures.
And the filler metal used in this process is a tin-lead alloy.
Since it is the binding agent, you must melt the alloy, and its melting point is over 752°F.
Therefore, the soldering temperature must be at least that figure.
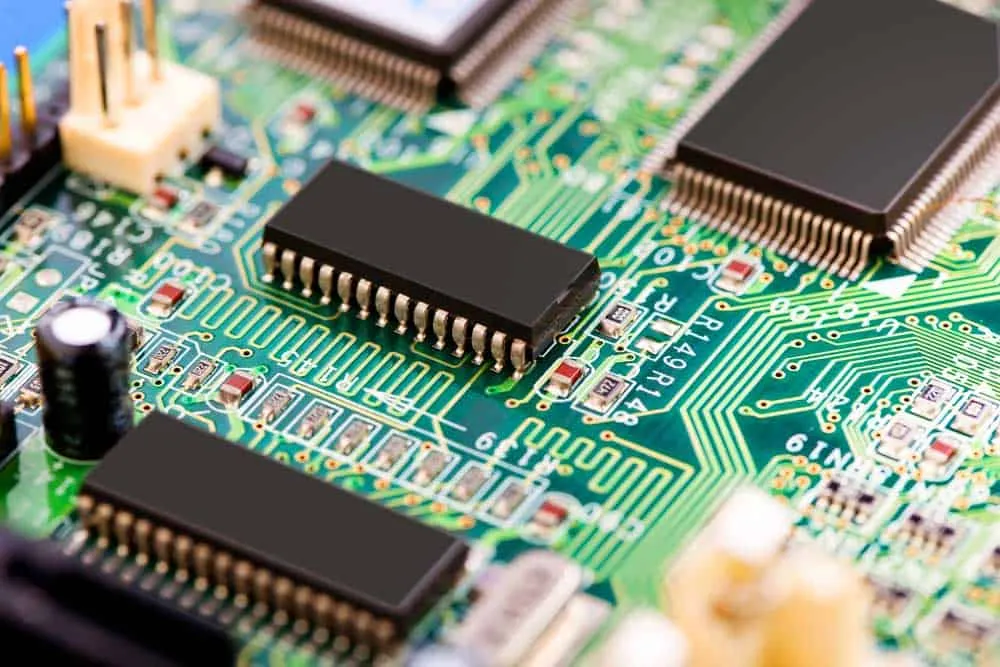
Required Soldering Equipment
We will focus on the soft soldering process, which requires the following items.
Soldering Iron
A soldering iron is a handheld heating tool that provides the energy to melt solder. The pencil-shaped device contains several parts but in a compact package.
Soldering guns are larger than soldering irons and are ideal for high-precision projects.
These include welding jewelry metal components. But soldering irons are smaller and produce less heat than guns.
But remember, too much heat can damage a PCB. So this moderate heat is sufficient for welding components to PCBs.
Soldering irons have four primary parts.
Tip
The tip is the front part of the iron that touches and heats the solder to its melting point.
Usually, it consists of a copper core with an iron plating.
You can interchange the tip on the iron depending on the project. But always use a clean iron tip to get the best results.
You can clean it using a wet sponge when the iron is hot.
Solder Wick
Solder wick is a braided copper wire that sucks excess solder where you don’t need it.
Wand
The iron’s handle is known as the wand. It is an insulated part of the iron that you can hold without getting any heat from the tip.
Also, it has thick padding for comfortable holding and a firm grip.
Rest
This component is not part of the iron but is a vital accessory. It allows you to rest the iron while elevated from the surface.
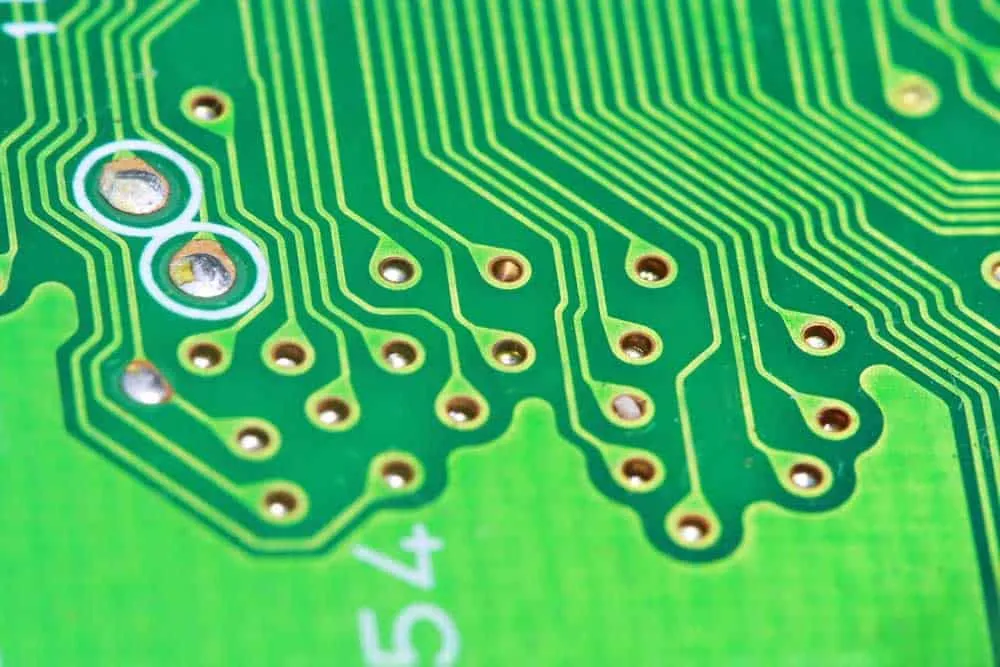
Solder Flux
This purifying agent has three purposes when soldering.
- - Cleans rust from components and solder pads/through holes
- Cuts air contact on the soldering area to prevent future oxidation
- Enhances the wetting or dripping ability of the solder
Solder Paste or Wire Solder
Also, solder paste is easier to apply, creating a stronger, more reliable joint.
But solder wire can withstand higher temperatures without degrading.
How To Solder a PCB
Here’s where the fun begins. Follow these steps to weld electronic components to your circuit board.
Tin the Solder Iron
Begin by preparing the soldering iron for the task using a tinning process. Tinning has two benefits.
- - It helps boost heat transfer from the iron tip to the soldering surface
- Protects the iron tip from wear and tear
The process involves warming the soldering iron to max temperature, then wiping it with a wet sponge to remove dirt.
Next, dip the tip in solder for complete coating.
The solder should fully cover the iron tip and drip. After that, move to the next step.
Prep the PCB Surface
The circuit board surface must also be dirt-free before soldering.
So use an acetone cleaner or industrial cleaning wipe to remove dust and debris from the operating area.
After that, you can use compressed air to dry the surface and blow off tiny particles that might have stuck.
Component Placement
We don’t recommend soldering an entire board in one session. So begin by placing the tiny parts, then do the larger components later.
This positioning will keep the surface from getting weighed down by heavy pieces, causing unevenness.
So place the tiny components on their respective soldering pads or through holes.
And you can bend some of the leads under the board if the parts keep popping out.
Heat the Joint
Heating the joint prepares the metal surface for soldering.
Pick a small amount of solder using the iron tip, then contact the component lead and PCB copper pad/hole.
Solder the Joint
Apply the solder paste to the joint, which should be hot enough to melt the solder.
If using a wire, contact it with the hot joint.
It should melt, flow freely, and fill the slot. Maintain the contact until a mound forms over the component lead.
Avoid contacting the solder directly with the iron tip because it will melt quickly and flow uncontrollably.
The iron tip is way above the solder melting temperature, and this situation will cause a dangerous mess.
Once the mound forms, set aside the solder and place the iron on its rest.
And keep the soldering surface flat when soldering and cooling to keep the joint neat, non-grainy, and shiny.
Inspection
Inspect the joint after it cools.
For through-hole components, it should be a smooth, shiny cone with the lead sticking out above.
Trim this lead.
Clean the Flux
Solder the other components, then clean the excess flux from the surface.
That’s it!
Soldering Quick Safety Tips
- Solder in a well-ventilated room because solder fumes and the scent of flux are harmful and irritating. Also, protect your eyes using safety goggles and always place the iron on its rest when not using it.
- Ensure you tin the soldering iron’s tip to prevent oxidation, wear, and tear. Also, melted solder flows more smoothly on the surface of a tinned iron tip.
- Avoid overheating the solder joint because excessive heat can damage the board or sensitive components. Try attaching a crocodile clip to the part’s lead to spread heat away from the component body.
- Don’t touch the solder, move the electrical component, or clip the component lead before the joint cools.
- Select the right tip and solder for the job.
Wrap Up
PCB soldering is a delicate process that requires a keen eye and steady hands.
And if you follow the steps and tips above, you should create a well-soldered board in no time.
That’s it for this article.
Don’t forget to share your sentiments in the comments section below, and have a good one. For professional soldering, explore our PCB assembly services.
Related Articles
Continue exploring similar topics
How to Identify Diodes
Learn how to identify diodes by type and polarity. Understand markings, use multimeter testing, and recognize common diode types for your electronic projects.
How to Solder Wires to a Circuit Board
Do you know how to solder wires to a circuit board? It is straightforward, but you must perform it correctly to ensure a perfect electrical connection.

How To Mix Ferric Chloride for Etching
Learn how to mix ferric chloride for PCB etching. Get the right ratios, safety tips, and step-by-step instructions for etching copper-clad boards at home.
Ready to bring your PCB design to life?
Get an instant quote for your custom PCB fabrication and assembly needs.
Get Instant Quote