How To Make a Keyboard PCB
This is a guide about how to make a keyboard PCB.Making a keyboard app is as simple as writing several lines of code and running it on your phone or tablet.
This is a guide about how to make a keyboard PCB.
Making a keyboard app is as simple as writing several lines of code and running it on your phone or tablet. But what if you want to build a physical keyboard for your computer?
The underlying circuit that runs the device is a PCB. So you need to figure out how to make this component first. Here’s how to make a keyboard PCB.
What Is a Keyboard PCB?

A keyboard PCB is a circuit that translates keypresses into electrical signals for the computer to understand. It consists of three parts.
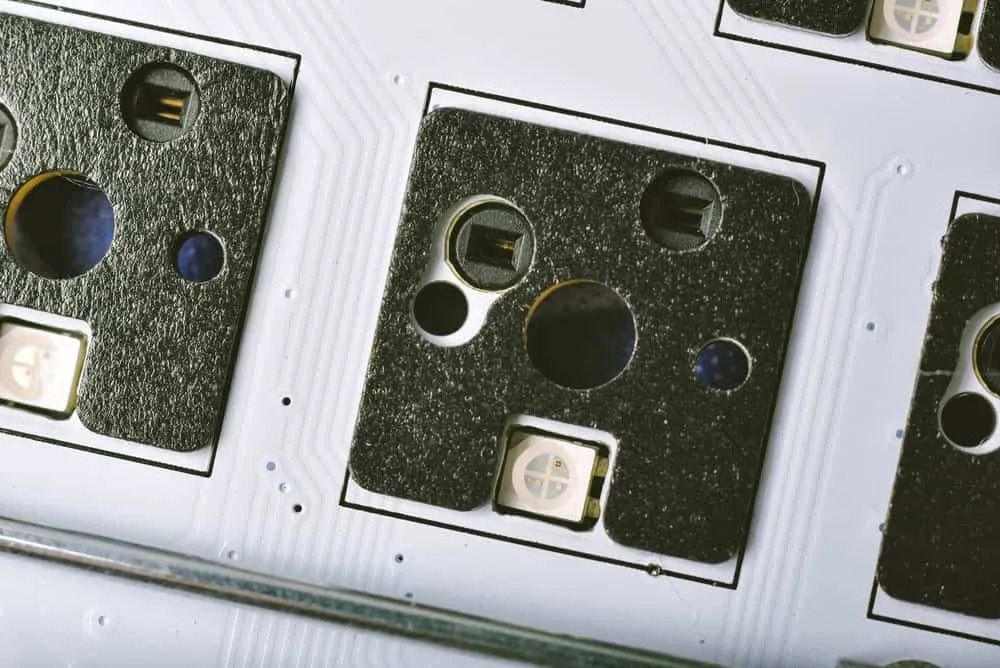
Physical Keys
These are the interface points between the user and the PCB. The keys can sit directly on the board (PCB-mounted switch) or on a plate above the board (plate-mounted switch).
Their purpose is to register keystrokes to the PCB underneath.
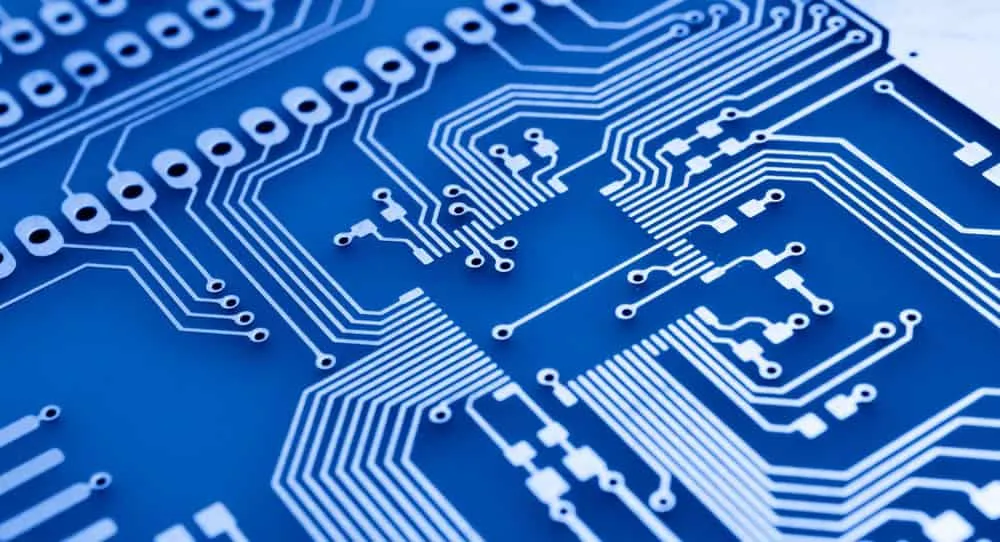
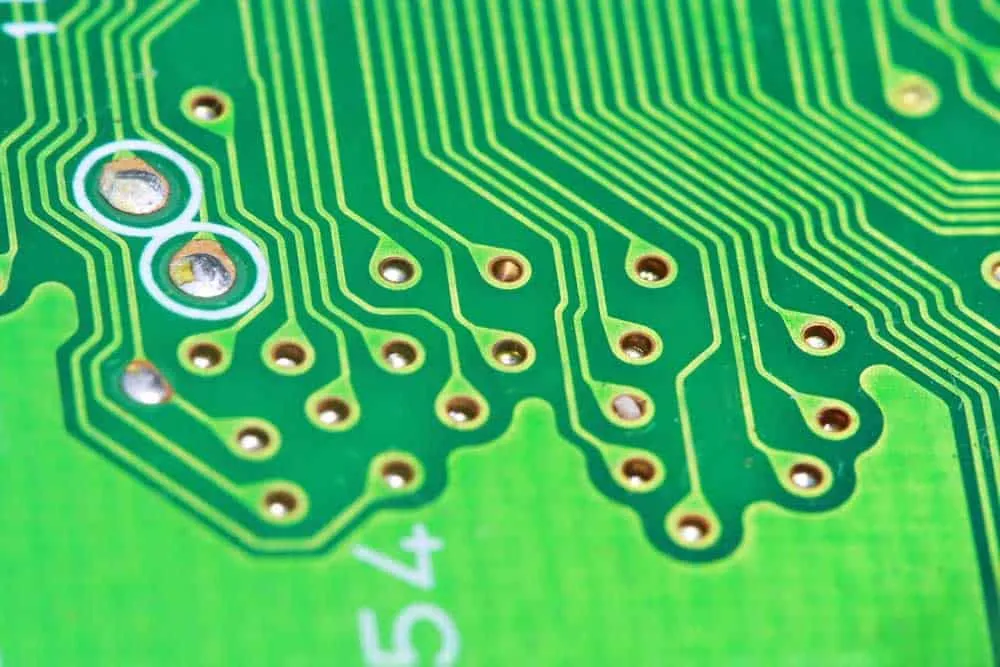
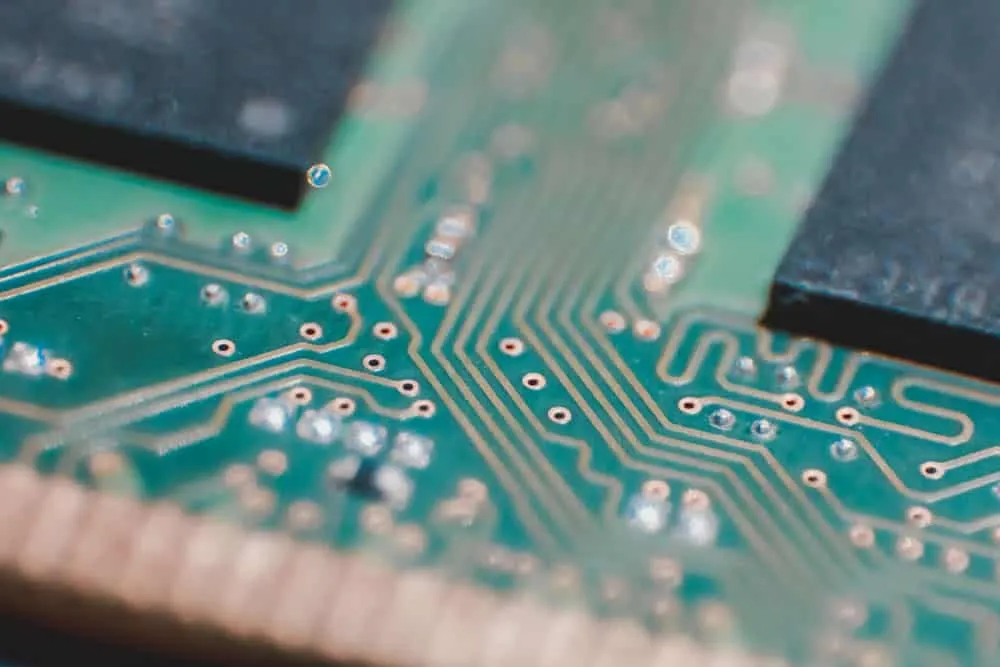
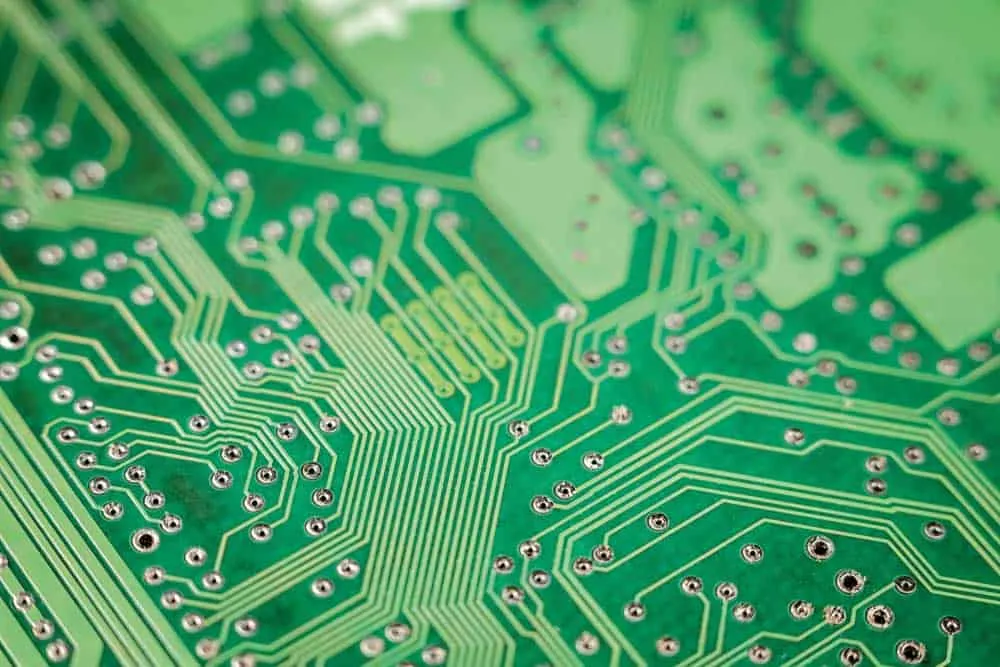
PCB
Printed circuit boards connect different parts and keys on the keyboard. So they determine the electrical connections and layouts between the keys.
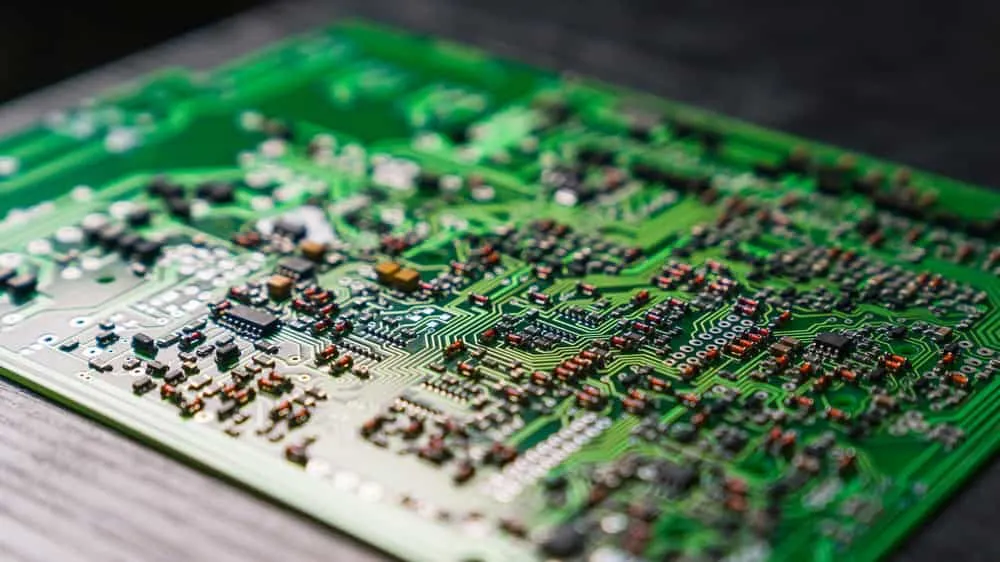
Microcontroller
A microcontroller is the computer’s brain. It scans the keyboard PCB continuously to detect and identify any key presses.
How To Make a Keyboard PCB
Fabricating a keyboard requires these four steps.
Develop the Schematic Design
Like any other board, the first step in making a keyboard PCB is to design the circuit schematic. So begin by developing the keyboard schematic, which involves making electrical connections between the electronic components.
Component Placement on Designs
Next, place the components on the keyboard layout while arranging them logically. And when populating the PCB layout, consider factors like connectivity and signal interference.
Design and Routing Verification
Once you’ve completed the PCB design, check the trace routing or links between components. These should not have inter-weaved connections. And you might want to include ground planes to enhance signal integrity.
Next, check if the design meets the PCB manufacturing requirements (DFM). Try carrying out a design rule check to detect any issues.
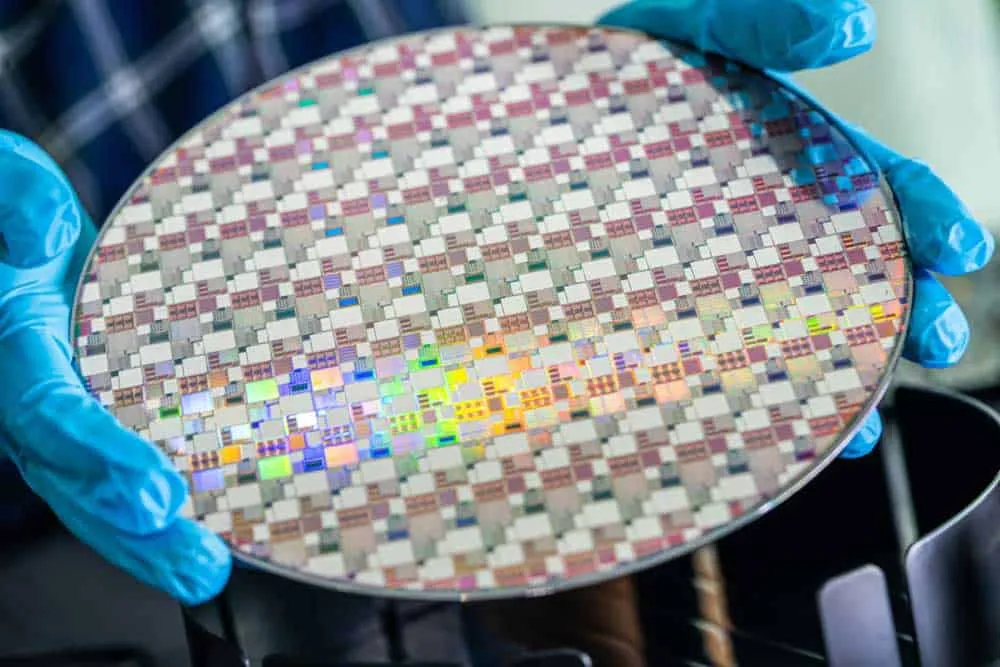
Manufacturing and Assembly
PCB fabrication is a demanding task. So we recommend getting a PCB manufacturer to build you the pre-assembled board. And after manufacturing, the board needs assembly.
The assembly process is more straightforward than manufacturing, so you can do it using a soldering iron.
Ideal Materials for Fabricating Keyboard PCBs

Here are the most suitable materials for fabricating the PCB substrate.
FR4
FR4 is one of the most typical materials used to make circuit boards because it is affordable and durable. The woven fiberglass material is also resistant to moisture and heat. So it won’t warp or change shape at high temperatures.
Polyimide
Although more expensive than FR4, polyimide offers better resistance to heat and chemicals; it can withstand temperatures of up to 260°C. But keyboards don’t generate a lot of heat.
Ceramic
Ceramics are rugged enough to resist heat and corrosion. So ceramic keyboard PCBs can handle abuse with minimal wear than FR4 and polyimide.
And in terms of electricity, ceramic has lower electrical conductivity and higher dielectric strength than the two. But it is also more expensive.
Teflon
The key selling point of Teflon is its low friction properties. So Teflon PCBs are more wear-resistant, resulting in better performance and durability. However, the material is the most expensive of the four.
Typical Keyboard PCB Sizes
Keyboard PCBs determine the device’s size because they hold the keys. The typical keyboard sizes include the following.
- Full-size: These are the standard models for desktop PCs. They include separate number pads, arrow keys, and modifier keys.
- - 1800: This unit has the same number of keys as the full size. But it condenses them by placing navigation keys above the Numpad. Plus, this key cluster sits closer to the main set, making the keyboard narrower and taller than the full-size type.
- 96% (1800-compact): These keyboards fit as many keys as possible in the least space. So they combine all keys in one cluster. Although more compact than the two above, this keyboard is difficult to use because it lacks clustered groupings.
- 80% (Tenkeyless): Resembles a full-size keyboard. But it does not have a number pad.
- - 75% (84-key): Similar to a tenkeyless, but with fewer navigation keys and the rest placed vertically.
- 65%: This condensed version of the 84-key keyboard lacks a function row and escape key.
- - 60%: This 61-key keyboard has no arrow keys, navigational cluster keys, and function row. It is the most popular type for custom keyboard configuration.
- 40%: The most compact keyboard you can get for regular typing is this 49-key, 40% keyboard. Most of its keys have combined functions to maximize the output on a small size.
- Macro pad: A macro pad is a separate pad with fixed-function or programmable keys. Most people refer to it as a programmable keyboard.
Typical Types of Keyboard Layouts

Mechanical keyboards also come in different layouts, which include the following.
QWERTY
QWERTY keyboards are the most popular type, and their name comes from the first six-key letter arrangement.
AZERTY
DVORAK
DVORAK keyboards have an optimized layout that minimizes finger movement when typing.
How To Put a PC Keyboard Together
After picking the keyboard type, designing, manufacturing, and assembling the keyboard PCB, join the pieces using these steps.
Gather the Required Keyboard Parts
The most critical component you need to assemble the keyboard is the PCB. And depending on the one you made earlier, you can have one of the following.
- - Standard PCB: With these circuit boards, you only have to solder the switches on the slots. This design gives you lots of positioning freedom when handling the keys.
- Hot-Swappable PCB: These PCBs are ideal for beginners because they don’t require switch soldering. You can press and remove these switches easily on any slot.
- Through-Hole PCB: Through-hole circuit boards are ideal for experts because you need to solder all the mechanical keyboard components. These include a USB connector, diodes, microcontrollers, etc.
Other parts include the following.
***Case***
You can’t use a keyboard with its PCB naked. A case holds all pieces together and protects the circuit board from damage.
***Plate (Optional)***
***Stabilizers***
Stabilizers hold the large keys intact, making them feel sound and solid when pressed.
***Switches***
Switches adjust a key’s tone and feel. For instance, clicky ones have a tiny bump that produces an audible click sound.
Tactile switches have a tinier bump than the clicky type, resulting in a moderate click sound. But linear keyboard switches are quiet because they don’t have these a bum.
***Keycaps***
Keycaps are the parts you touch when typing. They contain the lettering and markings that show you what to expect after making a key press.
Gather the Required Assembly Tools
You’ll need at least these four tools to assemble the keyboard.
- - Soldering iron
- Solder wire
- Switch puller
- Wire keycap puller
Test the Assembled Board
Test each switch electrically to make sure all work. You’ll have to connect the keyboard to your computer to power and test it.
Connect the PCB Stabilizers
Stabilizer connections are challenging. So have them made to match the PCB layout for easy fixing. Keep in mind removing them is also laborious. So double-check them before and during installation.
Install the PCB Switches
Insert and press a switch on each PCB slot. And be careful not to bend the pins. You can straighten them using tweezers, but they will weaken over time.

Solder the Spring-Loaded Switches
You don’t have to worry about soldering if assembling a hot-swap keyboard. But with standard mechanical keyboards, weld the keys to make them stable.
If using a through-hole PCB, ensure you solder all the other components.
Install the Keyboard in its Case
With all the internals in place, it is time to mount them inside the external case. Center the PCB for stability purposes.
Fix the Keycaps
Attaching the keycaps is a straightforward process. But make sure you match the cap with the keyboard layout type. For instance, if the board is a QWERTY type, fit the cap placement with this design.
Test the Keyboard
Use an online keyboard tester to check the keyboard’s functionality. Also, plug it into a PC and test the buttons to see their output.
Wrap Up
The process of building a keyboard PCB is similar to that of making other circuit boards. But consider factors like material, size, and layouts when designing the board.
With these sorted, the next step is to assemble the pieces. And the steps explained above should guide you through the process.
Contact us if you encounter any challenges making this keyboard PCB. We are here to help. Check out our PCB manufacturing services and prototype options for your keyboard project.
Related Articles
Continue exploring similar topics
How to Identify Diodes
Learn how to identify diodes by type and polarity. Understand markings, use multimeter testing, and recognize common diode types for your electronic projects.
How to Solder Wires to a Circuit Board
Do you know how to solder wires to a circuit board? It is straightforward, but you must perform it correctly to ensure a perfect electrical connection.

How To Mix Ferric Chloride for Etching
Learn how to mix ferric chloride for PCB etching. Get the right ratios, safety tips, and step-by-step instructions for etching copper-clad boards at home.
Ready to bring your PCB design to life?
Get an instant quote for your custom PCB fabrication and assembly needs.
Get Instant Quote